Step-by-Step Guide to Taking Screenshots on Chromebooks
Taking screenshots can be incredibly useful for quickly capturing images of your Chromebook’s screen. Whether you’re trying to document an issue you’re having with your device or need an image of something displayed on the screen, this guide will help you do it.
Step 1: Select Your Capture Mode
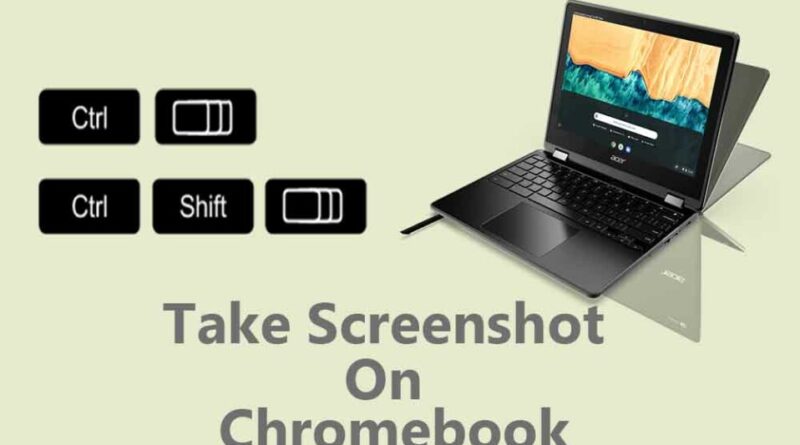
The first step is to select if you’d like to take a full-screen capture or just capture a portion of the screen. You can do this by pressing the combination CTRL+ Shift + switch window key (this will appear as an arrow pointing in two directions).
Step 2: Capture Your Screen
Once you’ve selected your capture mode, your next step is to take the screenshot. Depending on how you chose to capture your screen, there are two ways of doing this:
- Full-Screen Captures: Press the ctrl + switch window key and a notification will pop up informing you that your screenshot has been taken and saved in the ‘Downloads’ folder.
- Partial-Screen Captures: Once you press the ctrl + shift +switch window key, drag your cursor across the area of the screen that you wish to capture and then release it when finished. A notification will inform you that the timer has started so make sure to click whether you want to save it or not before the time runs out. The screenshot will then be saved into your Downloads folder.
You May Also Like –How to Screen Record on Chromebook
Step 3: Locate Your Screenshot
Once you have captured the desired portion of the screen using one of these methods, all that’s left is for you to locate where it was saved. To do this, navigate over to the ‘Downloads’ folder (usually located either at the bottom right corner of your home screen or as part of the app launcher group) and locate your screenshot with ease!
That’s all there is to it! We hope this guide helped help teach you how to easily take screenshots on Chromebook devices.
Keyboard Shortcuts
If you’re like most people, you probably take a lot of screenshots. Whether it’s for work or for play, screenshots are a convenient way to save or share images from your screen. And if you’re using a Chromebook, there are a few different ways to take screenshots.
To take a screenshot of your entire screen, simply press the “Ctrl” and “Window Switch” keys at the same time. This will capture your entire screen, including any open windows, and save it as an image file to your Downloads folder.
If you only want to screenshot a specific area of your screen, use the “Ctrl” and “Shift” keys instead of the “Window Switch” key. This will allow you to select an area of your screen to capture with your mouse. Once you’ve selected the area you want to capture, release the keys and press “Ctrl” and “S” at the same time to save it as an image file.
You can also take a screenshot of just one window by hovering your mouse over that window and pressing “Ctrl” and “Alt” at the same time. This will take a snapshot of just that window, which can be handy if you only want to share part of what’s on your screen.
And finally, if you need to annotate or edit your screenshot before sharing it, use the built-in Chrome apps like Grabilla or Snagit editor. Just open either app and press “Ctrl”