How to Mix Custom Colors in Paint by Numbers Projects
When working on a paint by numbers project, you may encounter situations where you want to adjust the colors to achieve a more personalized or realistic result. While these kits are designed to simplify the painting process by providing pre-mixed colors, mixing custom shades can add depth and uniqueness to your artwork. This guide will show you how to mix custom colors in your Paint by Numbers projects and enhance your creativity.
Why Mix Custom Colors?
Mixing custom colors allows you to customize your artwork, making it stand out. Here are a few reasons to consider mixing your own shades:
- Create depth and realism by adjusting tones.
- Fix dried-out or missing paint with a custom blend.
- Add a personal touch to make the project unique.
With a few basic techniques, you can turn a standard Paint by Numbers kit into a true masterpiece.
Basic Color Theory for Mixing
Before you start, it’s helpful to understand some basic color theory. Colors are typically grouped into three categories:
- Primary colors: Red, blue, yellow (cannot be created by mixing other colors)
- Secondary colors: Green, orange, purple (created by mixing two primary colors)
- Tertiary colors: Made by mixing primary and secondary colors
To create custom shades:
- Lighten a color by adding white.
- Darken a color by adding black (use sparingly).
- Desaturate a color by mixing it with a complementary color (opposite on the color wheel).
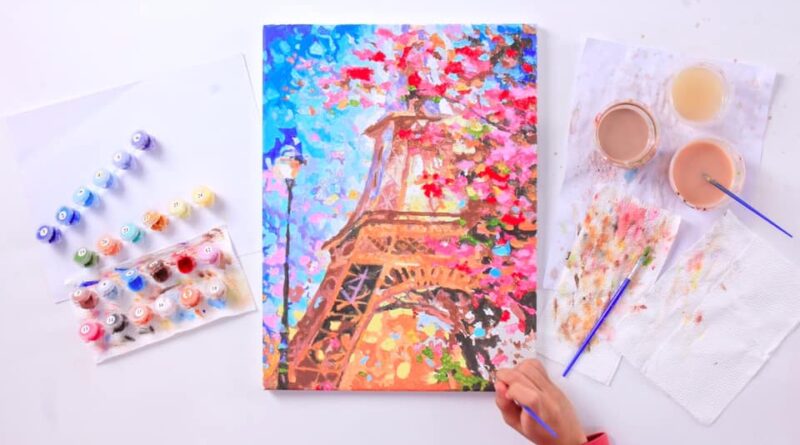
Essential Supplies for Mixing Colors
In addition to your Paint by Numbers kit, you’ll need a few extra supplies for mixing colors:
- Palette or mixing tray for blending paints
- Extra brushes to avoid color contamination
- Acrylic medium or water to thin paints
- Paper towels for cleaning brushes
Make sure you mix small amounts of paint at a time to avoid waste.
Step-by-Step Guide to Mixing Custom Colors
1. Identify the Colors You Want to Mix
Before you start mixing, decide which color you want to create. Look at your reference image or the desired effect and identify the two or three closest shades in your kit.
2. Start with a Small Amount
It’s easier to add more paint than to correct an over-mixed color. Start with a small dab of each color and blend them on your palette.
3. Mix Thoroughly
Use a brush or palette knife to mix the colors thoroughly until you achieve a uniform shade. This ensures the color will apply evenly on your canvas.
4. Test the Color
Apply a small amount of the mixed color on a scrap piece of canvas or paper. Let it dry for a minute to see how it looks. Acrylic paints can darken slightly as they dry, so it’s important to test before applying it to your painting.
5. Adjust as Needed
If the color isn’t quite right, adjust by adding small amounts of other colors:
- Add white for a lighter, pastel effect.
- Add blue to cool down a color.
- Add red or yellow for warmer tones.
6. Keep Notes
If you create a custom color that you’ll need again, jot down the ratio of paints used. This will help you recreate the shade later if necessary.
Common Custom Color Mixing Scenarios
Blending Sky and Water Shades
For a more natural gradient in skies or water, mix blue with hints of white and a touch of purple. This creates a softer, more realistic transition between colors.
Creating Skin Tones
Mixing skin tones requires subtle blending. Start with a base of white, red, and a small amount of yellow. Adjust with a touch of blue or brown to create the desired tone.
Adding Shadows and Highlights
To add depth to your painting, mix darker shades of existing colors for shadows and lighter tones for highlights. This technique makes your artwork more three-dimensional.
Tips for Success
- Work in natural light to see the true color of your paint.
- Clean your brush thoroughly between mixing to avoid muddy colors.
- Be patient and experiment. Color mixing takes practice, so don’t be afraid to try different combinations.
Conclusion
Mixing custom colors in your Paint by Numbers projects is a fun and rewarding way to personalize your artwork. By understanding basic color theory and following a few simple steps, you can achieve stunning results that reflect your creative vision. Whether you’re blending colors for a sunset sky or creating realistic skin tones, custom color mixing opens up endless possibilities.
Take your time, experiment with different shades, and enjoy the process—your masterpiece awaits!